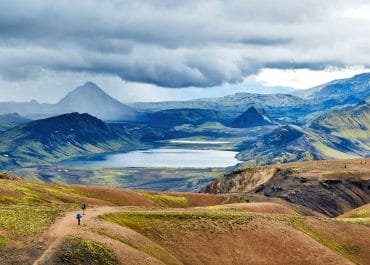
Iceland is known to have photographers at almost every nook and corner and all for good reasons. Given the extraordinary landscapes that you find in Iceland, it is not a surprising thing that so many people are obsessed with photographing the country. There are so many photographic locations in the country that one need to carry several storage options just to keep all the snaps intact because the locations, options, and angles are so many that you could practically shift to the country and still wouldn’t have enough time and reel to capture every single thing that you would like to or have thought of catching in your snaps. But out of all these beautiful destinations and phenomena that Iceland has, there is one which tops the list and that is the Northern Lights.
Photographing the northern lights is the priority of every photographer visiting the country for the first time and for all good reasons too. The way these beautiful waves of light dance in the sky is not something that one can catch just anywhere in the world. But you will need proper equipment and some top locations where you can have peace, quiet and the time that you need to photograph the lights. So, following is a curated list of the all the must-photographed locations for northern lights and the gear you will need to have your photos turn out to be nothing but phenomenal.

Preparing the Arsenal – All That You Will Need for Photographing the Northern Lights
Since almost everyone is equipped with smartphones, people prefer to take pictures on phones. But if you are an amateur or professional photographer who likes to go about with the complete gear, then there are some things that you should take care of. Your complete collection of lenses, tripods, and other gear can be a little too difficult to handle during the travels. So, if you are planning to admission a DSLR for your photos, then here is a list of equipment you should carry for northern light photography:
- Wide Angle Lens: The ultimate gear you need to take seascapes and landscape photographs, wide-angle lenses will do good in Iceland. Bring both wide and ultra-wide-angle lens with you. A 16-35 mm and 24-70 mm lenses may prove to be more than enough for your shots.
- Polarizer Filter: Makes the best out of nature photography, polarizer filter will highlight the natural colors of the landscape. It brings vibrance, increases the saturation, and removes glare (in case of photographing reflective surfaces). Since northern lights are known for their colors, polarizer lens can do wonders here.
- Natural Density (ND) Filter: Photographing moving water will require an ND filter. It makes water that id flowing with speed and power look smooth like in rivers, waterfalls, oceans, etc. Northern lights, however, are not waterfall but they have their fair share of the movement known as ‘dancing’. So, bringing along an ND filter may prove handy. The pictures will turn out to be as smooth as cream. Note that natural density filters come in many variants. You should get a rectangular frame ND filter so that there is no scope of getting vignette around the photos as the nights will be dark enough already and you need all the light and exposure that you can get.
- Tripod Stand and Ballhead: Needless to say, you will need a tripod stand but the main thing is to check the sturdiness. Ideally, tripods used that need to be carried on hikes and such are made to be lightweight for easy portability. But since you will be photographing in the peak of winter season which means that there is a good chance that you will face high-velocity winds. So, make sure that the one you bring in Iceland is sturdy and heavy enough to survive on every kind of terrain in Iceland.
- Shutter Release: This will help in eliminating camera shake when taking pictures and trust us, you will need your camera to be as still as possible for northern light photography. A cordless shutter release which is longer than the traditional ones used in landscape photography. Aim for a shutter with a speed of about 5 seconds for a strong display of the lights. Increase the speed if the display of the lights is faint.
- Battery Charger: because you never know when you will need it. Keep a separate charged battery handy for emergencies.
- Storage: Because there is no such thing as “too many northern lights pictures”.
- Rain cover: Given the rambunctious weather of Iceland, it is a good idea to keep everything covered.

Ideal Camera Settings for Aurora Photography
Your DSLR is custom made to photograph in all kinds of conditions and landscapes with different sets of light and color exposure. So, you need to get your camera in ideal settings to get pictures that will do justice to the beauty of the aurora. There are some basic settings that you need to take care of:
- Camera Focus: Keeping the camera focus to infinity would help you take sharp pictures with the proper body at the horizon. It is not possible to set the focus in the night so make sure that you have done this in the morning in broad daylight. Set the focus and use some kind of marker, like a marking tape, to keep tabs so that you can quickly set it at night.
- Aperture: Aperture will decide how much light will enter the lens and how well you will be able to focus during the night. Keep the aperture at 2.8 for an f2.8 lens – which means the lowest you can go. An f/3.5 or f/4 will work as well but make sure you do not go wider than that as you may lose focus.
- Exposure (Shutter Speed): Your shutter speed should complement the speed at which aurora is moving. Usually northern lights move with a speed that can be captured with 12 -20 seconds shutter speed. Keep 20-25 second shutter speed ready for slow-moving vague aurora and 5-10 for intense fast-moving ones.
- ISO Value: The higher the better could be your mantra here. ISO value decides the amount of “grain” or “noise” you will have in your picture – higher the value, higher the grain amount. Start with 1600 as this works for medium-strength aurora and work your way up or down. The intense and powerful aurora borealis can be photographed at 800 ISO value as well. In general terms, 800-3200 is the ISO value line on which you will toggle. You can decide which way to go on the spot as per the intensity of the lights and availability of light.
- White Balance: This determines the kind of colors your photos will display, better known as the warmth of the colors. As far as northern lights are concerned shooting in a manual mode with white balance settings at 2800 – 4000 in Kelvin mode or “K” is the best. Automatic white balance can also be used here but it is better to get to manual settings so that you can click realistic photos that do not require editing in the lightroom afterward.

Best Places to Photograph the Northern Lights
While aurora is visible in all of Iceland where light pollution does not dominate the sky, not all of these places are suitable for photography. Some selected places are ideal for northern light photography. Here is a list for you to choose the perfect place for the kind of photographs that you want to take:
South Iceland
Most tourists land at the international airport and if you are one of them then, it is safe to say that you might search for a suitable location in the southern part of the country.
- Seltjarnarnes / Grótta: Reykjavik is the most populated area in the country and hence there the light pollution here is on a whole other level. But if you are looking for some quick easy shots around the city with some nature in the backdrop then Seltjarnarnes could be your ideal place to be. It is just outside the city and flaunts a beautiful lighthouse – erect out in the open with nothing else in sight. This adds a dramatic figure to your photos. Although, the light from the city may dull the intensity of the aurora so make sure that your camera is on ideal settings.
- Perlan (The Pearl): The Pearl or Perlan is perfect for those who want a mix of natural and man-made in their photos. Perlan is a beautiful building in the city which works as a beautiful foreground for the lights. Again, keep the camera ready for low-intensity lights.
- Reynisfjara Black Sand Beach: if you are looking to get some beautiful pictures of aurora with roaring water in sight then this is one of the best places to do so at. The basalt columns on the beach offer an other-worldly sight while the lit-up water creates a contrast with the black sand.
- Seljavallalaug Pool: This is Iceland’s oldest geothermal pool located between high mountains, in the middle of nowhere. The best part is that the mountains are covered in snow in the winter season so you have a pretty good place to get some shots clicked with clearly visible intense aurora.
- Threngsli: This is a road in Iceland that connects the main Route 1 to the settlements in the south and a wonderful place to get some shots in solitude.
- Thingvellir National Park: The natural beauty of this UNESCO world heritage site is no secret. There is a beautiful hill just a 10-minute-long drive, past the tourist information booth. You can set up your equipment here for the photographs or explore the rest of the park for more locations.
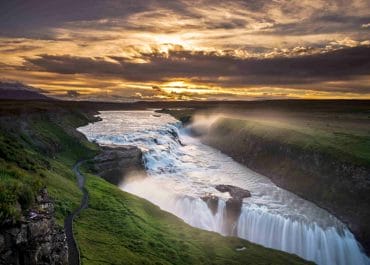
- Gullfoss Waterfall: The semi-frozen Gullfoss waterfall is not just an ideal foreground for the pictures, but also one of the most beautiful places if you want to photograph the lights with water insight.
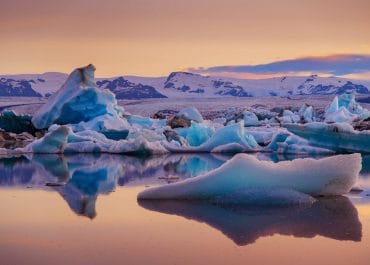
- Jokulsarlon Glacier Lagoon: Huge chunks of ice floating in the water glistening with green-blue-pink aurora with a backdrop of the mighty Vatnajokull glacier – this is a perfect setting for your natural color pictures. Visit the Diamond Beach, located next to the glacier lagoon, for even more beautiful shots.
- Eldborgahraun Lava Field: The largest, moss-covered lava field in South Iceland.
North Iceland
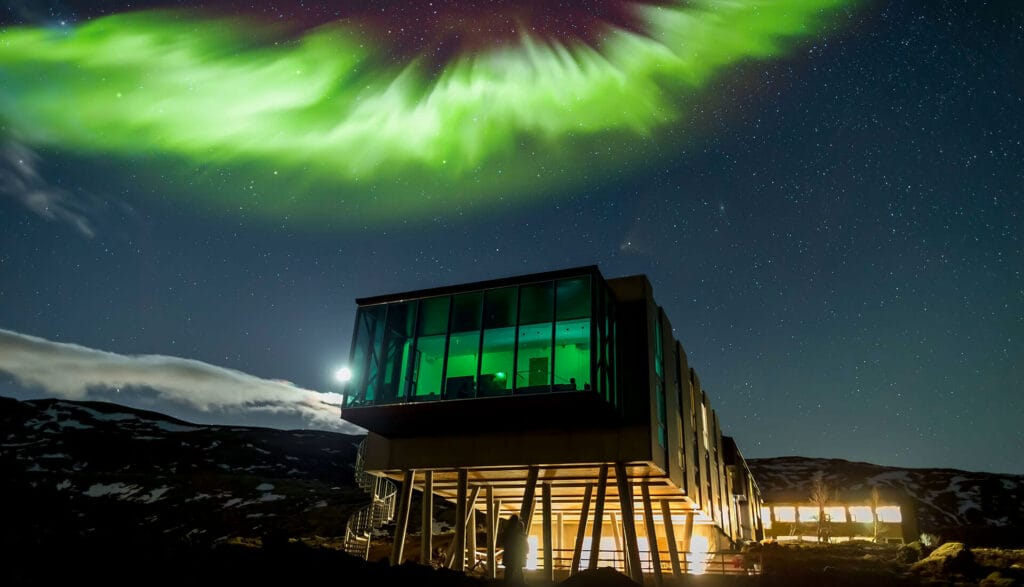
If you have decided to land at Akureyri then there are more than enough places for you to explore for your picture. The north is filled with empty landscapes that are more beautiful than words can describe but seldom get any visitors. In words, ideal for photographing the northern lights.
- Gásir: This is an old trading port near the fjords located off-road number 816. This settlement is only about 13 kilometers away from the town center of Akureyri which means that it is free of the light pollution of the city but still close enough to get there easily. Gásir is said to be one of the best locations in the north to photograph the aurora.
- Ásbyrgi Canyon: This by far the best place with zero light pollution in the north. This peaceful place is mostly free of tourists so you can some wonderful shots here.
- Krossanesborgir: Established right on the edge of Akureyri, Krossanesborgir is a national bird reserve and is very populated in the summer season. In winter, it is a great place for northern lights photography. There is an open sea area just a few meters away from the parking lot into the park. There may be some light pollution here since it is quite close to the city, but a good option if you do not feel like traveling.
- Ljósavatn: Lake Ljósavatn can be a good location for you if you are looking to get a mix of water and dancing aurora.
- Grenivik Village Hill: This is a small hill in the small village of Grenivik located on the east of the fjords. The hill is right outside the village, approximately 30-minute-long drive away. So, you can be assured that there will be no light pollution here.
- Hvitserkur: The 15-meter high basalt rock standing in the middle of nowhere with northern light dancing on top- ideal shoot location.
East Iceland
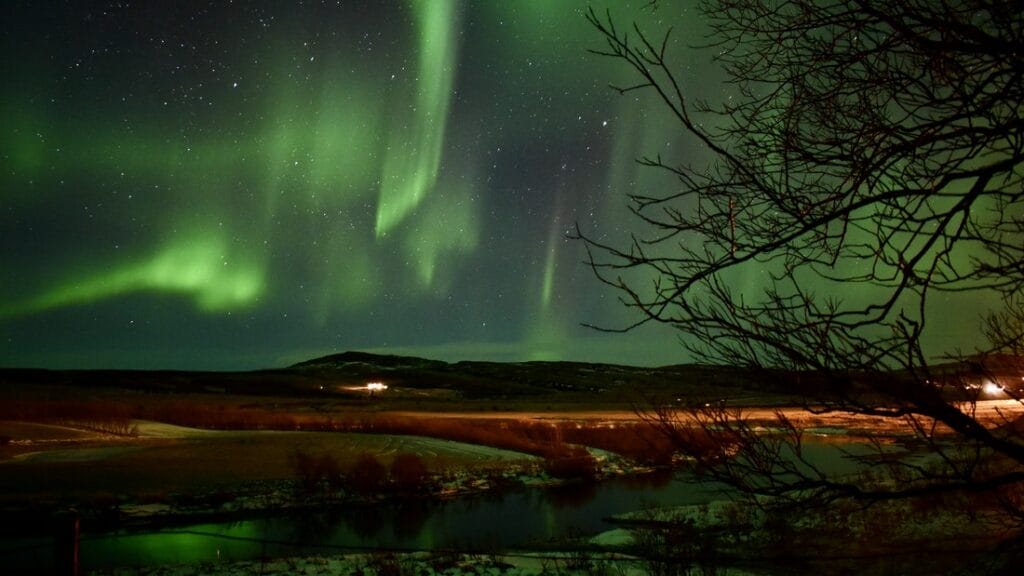
- Stapavík Beach: If out of all the locations in the east, one was supposed to be chosen then this will be it. A beach with a huge rock standing in the middle along with several mountains covering the skyline – an incredibly exotic location to shoot.
West Iceland
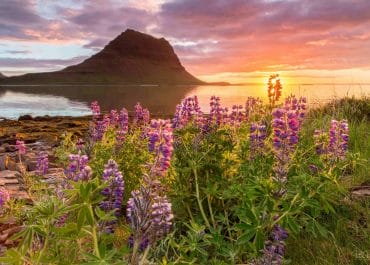
- Kirkjufell: Mount Kirkjufell is one of the most photographed mountain in the country and all for good reasons. This arrow-shaped beauty (as described by Jon Snow in Game of Thrones) is the perfect place for northern lights photography solely because of the landscape.
- Látrabjarg: This cliff overlooks the Westfjords and is known as the western-most point of the country. The crashing waves on the cliffs make an ideal foreground for the dancing lights.
- Hvammsfjordur: A large shallow bay in the west where you can some great shots of the lights above the calm waters of the fjords.
- Djúpavík: One of the very few towns with negligible light pollution.
Personal Gear: Dress Up for The Job
Winter season is not very polite in Iceland so make sure that you are wearing enough layers to survive the cold. You will be spending all your time out in the open where there is no stopping the winds so, scarves, muffs, gloves, and warm hats are a must. On top of that, wearing good hiking shoes is a good idea because there is no telling which kind of terrain you will decide to cross to that one perfect picture. Apart from that, stick to the basis of wearing a wind sheeter jacket and pants, insulated jacket, good middle and innermost layer of clothes. Pack yourself with clothes, pack the gear that you will need, and set sail to the location. Check out the Iceland Winter Packing List for a more detailed packing list for your winter trip to Iceland.
Happy Clicking!


